Building your own computer system may sound challenging, but with the right steps, it can be a rewarding and empowering experience. This guide will walk you through the process of selecting components, assembling them, and ensuring your custom PC runs smoothly.
Choosing Your Components
Processor (CPU)
The processor is the brain of your computer. When building your own system, choosing the right CPU is crucial. Depending on your needs—whether gaming, video editing, or simple tasks—you can opt for a high-performance or budget-friendly CPU. Intel and AMD are two leading brands that offer a variety of processors.
Motherboard
Next, you need a motherboard that is compatible with your chosen CPU. The motherboard acts as the central hub, connecting all the parts of your computer system. Ensure it has enough ports for future upgrades and supports your selected processor.
Graphics Card (GPU)
If you’re a gamer or need high-quality video processing, a good graphics card is essential. Your GPU will handle all the visual rendering, so choose one based on the kind of activities you’ll use your computer for. Nvidia and AMD are popular brands in this space.
Memory (RAM)
Random Access Memory (RAM) is important for your computer’s multitasking abilities. When you build your own computer system, ensure you choose enough RAM—typically 16GB for most users, or 32GB for more demanding tasks like video rendering.
Storage (HDD or SSD)
There are two types of storage to consider: hard disk drives (HDDs) and solid-state drives (SSDs). SSDs are much faster than HDDs, though HDDs offer more storage for a lower price. Many people now use an SSD for their system’s main drive and an HDD for additional storage.
Assembling the Computer System
Installing the CPU and RAM
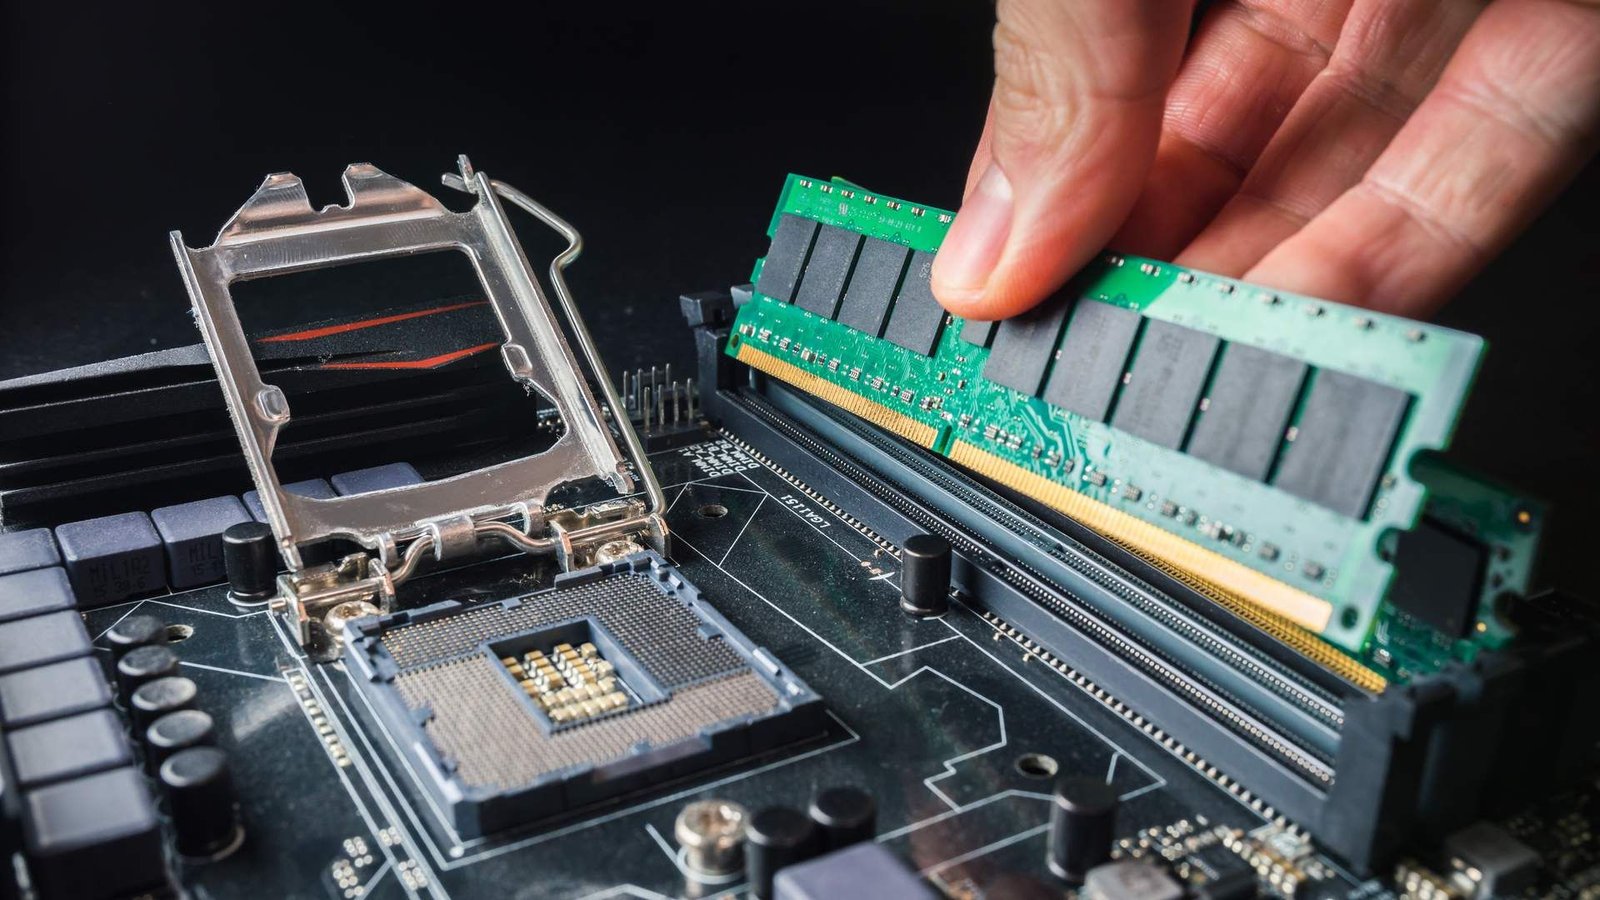
Once you’ve gathered your components, the first step in building your own computer system is installing the CPU on the motherboard. Align the CPU with the socket, and carefully place it in. Next, snap your RAM sticks into the designated slots on the motherboard.
Attaching the Motherboard
With the CPU and RAM in place, mount the motherboard inside the computer case. Ensure you use the standoffs that come with the case to prevent direct contact between the motherboard and the case, which could cause short circuits.
Installing the Power Supply Unit (PSU)
The power supply unit (PSU) provides electricity to all your components. Mount it in the designated area, usually at the bottom or top of the case. Ensure the PSU wattage is sufficient for your build—typically 500-750 watts for most systems.
Connecting the Components
Attaching the GPU
Once the motherboard is secure, install your graphics card in the appropriate PCIe slot. Ensure it clicks into place, and screw it into the case to avoid movement. For high-performance GPUs, you’ll also need to connect power cables from the PSU.
Connecting Storage and Power
Next, connect your SSD or HDD to the motherboard using SATA cables. Ensure they are properly powered by connecting them to the PSU. This is where your computer will store all data and software.
Connecting Peripherals
Before powering up, connect all your external peripherals, such as the monitor, keyboard, and mouse. Ensure all internal connections are secure, as loose wires can cause boot-up problems.
Setting Up the Software
Installing the Operating System
After you build your own computer system and power it on, you’ll need to install an operating system (OS). Windows, macOS (for hackintosh builds), or Linux are common choices. Installing the OS is typically done via a USB drive.
Installing Drivers and Updates
Once the OS is installed, it’s important to download and install all necessary drivers. These include drivers for your motherboard, GPU, and other peripherals. Keeping your system up-to-date will ensure that everything runs smoothly.
Final Tweaks and Testing
Running Diagnostics
After assembling and setting up your software, it’s time to test your system. Use diagnostic software to check the health of your hardware. Ensure everything is running smoothly and without errors. If you encounter any issues, check your connections and update your drivers.
Benchmarking Performance
Benchmarking software can test how well your system performs under load. This is particularly useful if you want to ensure your gaming or video editing PC runs optimally.
Conclusion
Building your own computer system is not only a fun project but also a great way to customize your machine to fit your exact needs. From selecting the perfect components to assembling them, this guide provides the basic steps to help you succeed. Just follow these instructions, and you’ll have a custom-built PC ready to handle whatever you throw at it!


