Building a custom computer system for beginners offers a rewarding and educational experience. By assembling your own PC, you gain a deeper understanding of how computer components work together, allowing you to tailor the system to your specific needs. This guide provides a step-by-step approach to building your custom computer system, including selecting components, assembling the hardware, and ensuring everything functions correctly.

Selecting the Right Components
Building a custom computer system for beginners starts with choosing the right components. The core components you need include the processor (CPU), motherboard, memory (RAM), storage, graphics card (GPU), and power supply unit (PSU). Each component plays a crucial role in the overall performance of your system.
- Processor (CPU): The CPU is the brain of your computer, handling most of the processing tasks. Choose a processor that meets your performance needs and budget. Popular options include Intel and AMD processors.
- Motherboard: The motherboard connects all components and provides the necessary ports and slots. Ensure that the motherboard is compatible with your CPU and has enough slots for RAM and expansion cards.
- Memory (RAM): RAM temporarily stores data that the CPU needs to access quickly. Aim for at least 8GB of RAM for basic tasks, and consider 16GB or more for gaming or professional applications.
- Storage: Choose between a traditional hard disk drive (HDD) for larger storage capacity and a solid-state drive (SSD) for faster performance. Many users opt for a combination of both.
- Graphics Card (GPU): The GPU handles graphics rendering. If you plan to game or use graphic-intensive applications, invest in a dedicated GPU. For general use, the integrated graphics on the CPU may suffice.
- Power Supply Unit (PSU): The PSU provides power to all components. Choose a PSU with enough wattage to support your hardware and ensure it has good efficiency ratings.
Assembling Your Custom Computer System
Building a custom computer system for beginners involves assembling the components. Follow these steps to ensure a smooth assembly process:
- Prepare Your Workspace: Find a clean, static-free area to work in. Gather the necessary tools, such as a screwdriver, and ensure you have anti-static wrist straps to protect sensitive components.
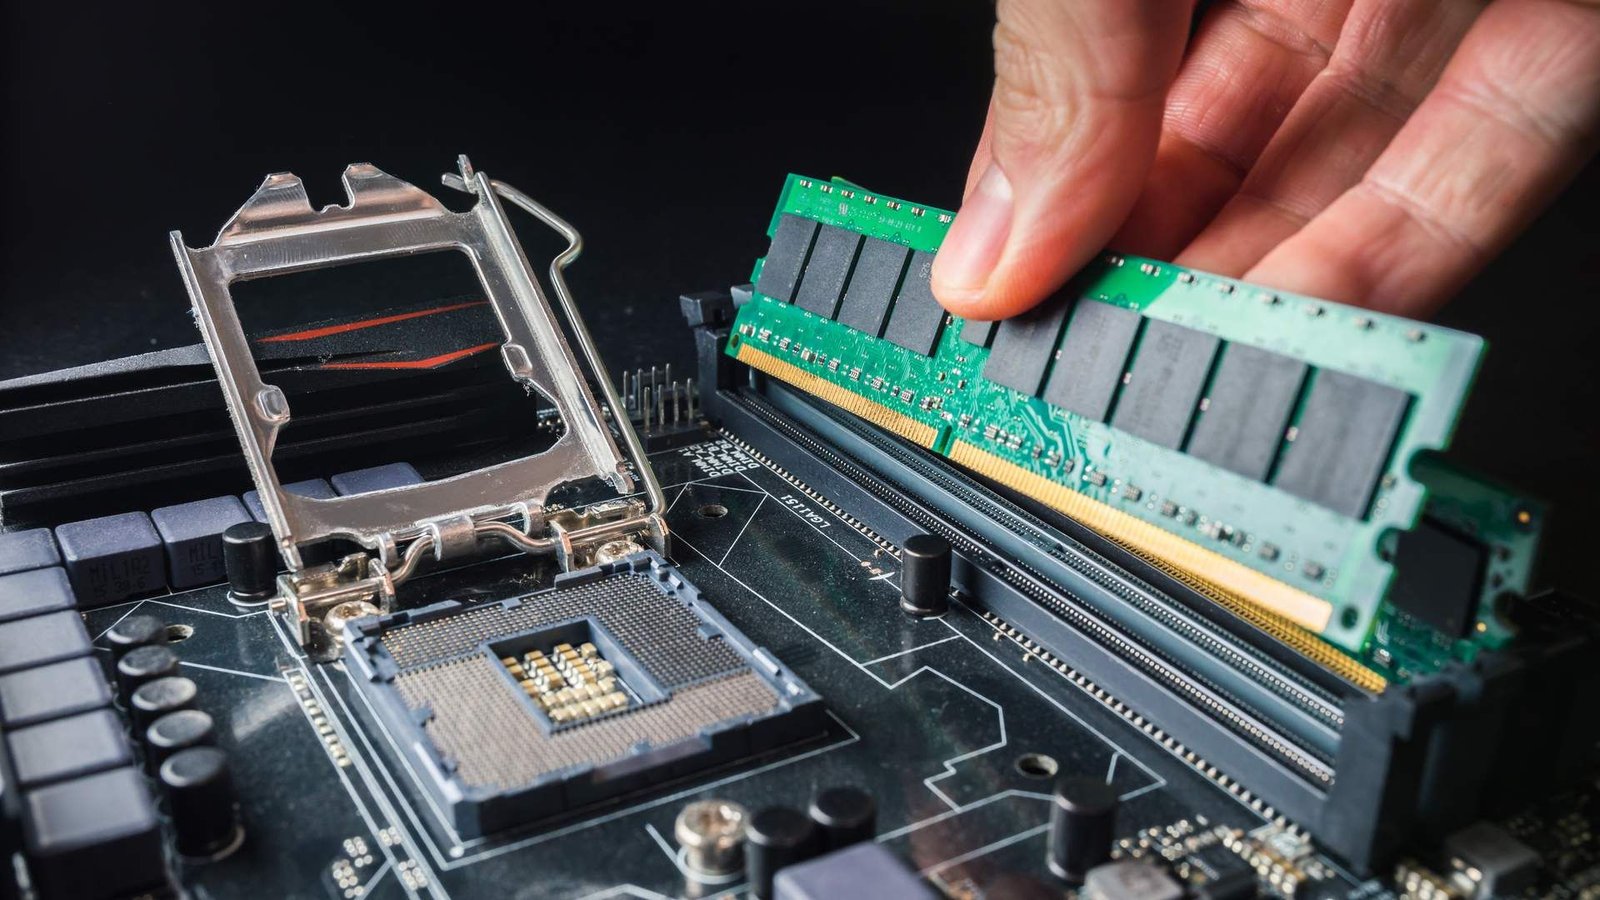
- Install the CPU: Carefully place the CPU into the motherboard’s CPU socket. Align the notches and gently lower the CPU into place. Lock the CPU in using the retention mechanism.
- Install RAM: Insert the RAM sticks into the motherboard’s memory slots. Press down firmly until the RAM clicks into place. Ensure they are evenly seated and locked.
- Install Storage: Mount the SSD or HDD in the appropriate drive bays or slots. Connect the storage device to the motherboard using SATA cables, if applicable.
- Install the GPU: Insert the GPU into the motherboard’s PCIe slot. Secure the GPU with screws and connect any necessary power cables from the PSU.
- Connect the PSU: Connect the PSU to the motherboard, CPU, GPU, and storage devices using the appropriate cables. Ensure all connections are secure.
- Install the Case Fans: If your case includes additional fans, install them in the appropriate locations to ensure proper airflow.
Testing and Finalizing Your Build
Building a custom computer system for beginners requires thorough testing to ensure everything functions correctly. Follow these steps to complete your build:
- Power On and Test: Power on your computer and enter the BIOS/UEFI settings. Check that all components are recognized and properly configured.
- Install Operating System: Install your chosen operating system (e.g., Windows, Linux) by following the on-screen instructions. Ensure that all drivers and updates are installed.
- Run Benchmarks: Use benchmarking software to test the performance and stability of your system. Monitor temperatures and ensure that the system operates within safe limits.
- Organize Cables: Tidy up cables inside the case to improve airflow and aesthetics. Use cable ties or management solutions to keep cables organized.
Conclusion
In conclusion, building a custom computer system for beginners involves careful planning, component selection, and assembly. By following these steps, you gain valuable experience and create a computer tailored to your needs. Whether for gaming, productivity, or general use, building your own PC provides a sense of accomplishment and ensures that you get the most out of your investment. Embrace the learning process and enjoy the satisfaction of creating a custom computer system that meets your specific requirements.


